

Wednesday, September 2, 2015
There's another way to finish off your quilt binding with a mitered edge. This one does not require quite as much accuracy, so it's a bit less complicated. Reducing complications is usually a good thing, especially in the homestretch of the quilt.
- Align Raw Edges of Double Fold Binding and Quilt

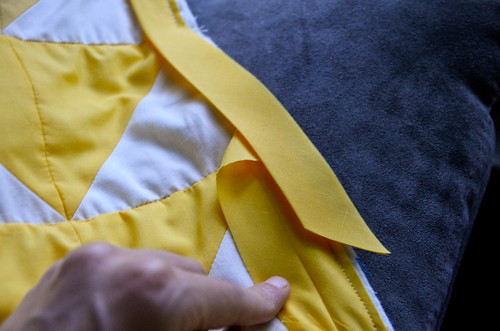
- Open Binding A Few Inches
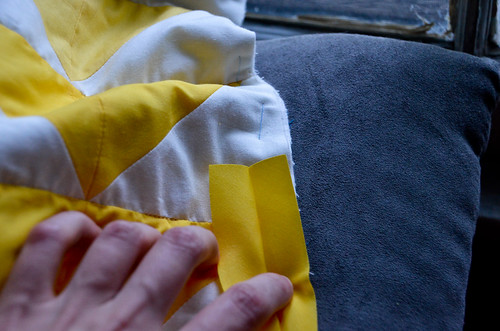
- Fold Left Corner of Binding Down and to the Right (forming a 90 degree triangle)
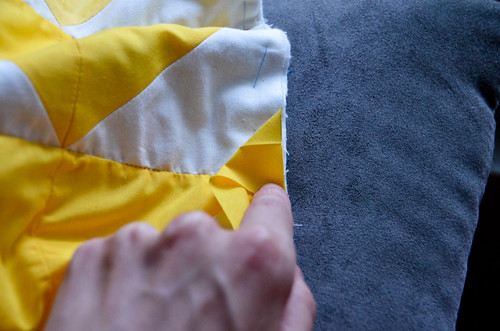
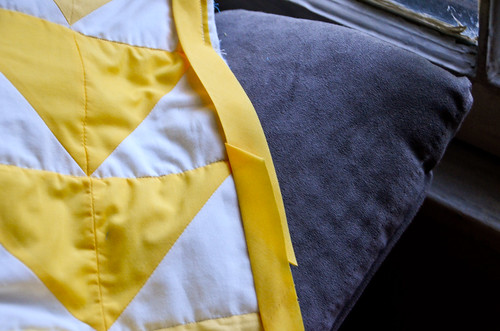
- Sew Single Edge of Binding Like Shown For a Few Inches
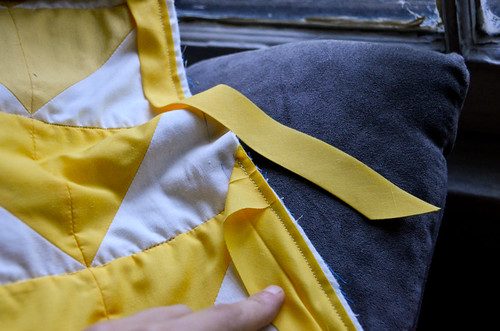
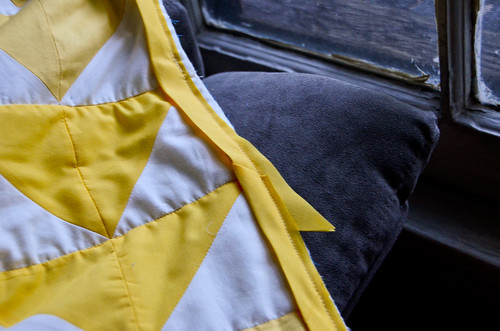
- After Sewing Open a Few Inches, Close Binding and Continue Sewing As Usual
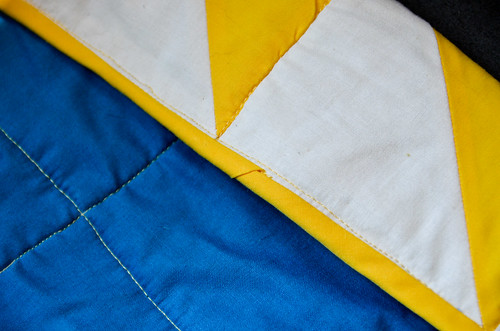
- Trim Binding End To Overlap With Pocket a Few Inches, Place End Inside Open Binding
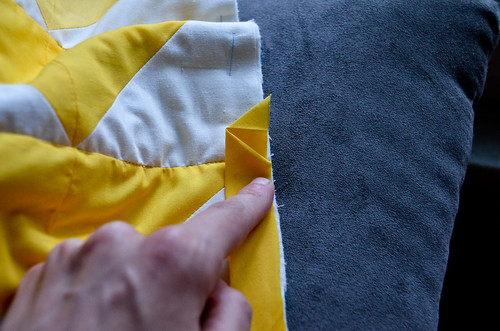
- Fold Binding Pocket Closed
- Sew Binding Pocket Closed
- Trim leftover and sew over as you do with the rest of the binding


0 comments:
Post a Comment