

Wednesday, April 15, 2015
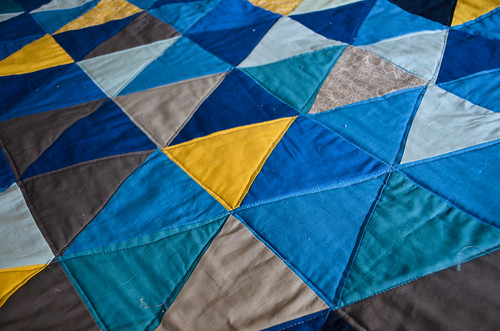
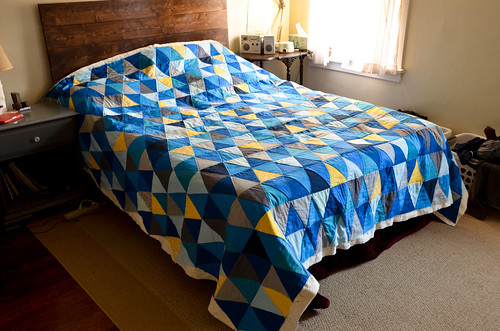
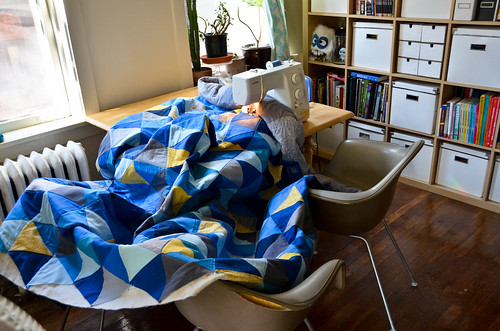
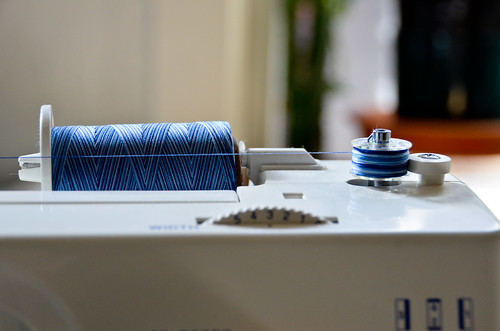
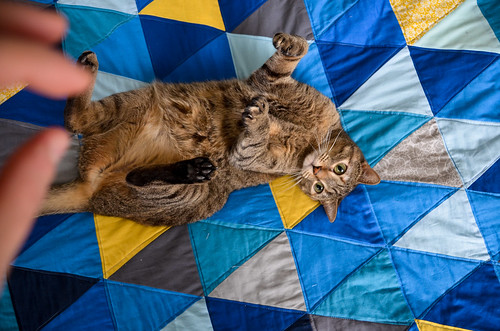
I really liked the quilting design from Saroy's Triangle Quilt, with some triangles having the quilting inside all three edges, and others having no quilting within their edges at all. So I followed that basic design, giving me something slightly different from perfect isosceles triangles on the back. I think it came out well. I also decided to use some Coats Star Mercerized Cotton Thread Variegated (1200yds in Blue Clouds #845). It was a lot of thread and I still have about half the spool left over! The thread occasionally broke, and since it was variegated, doing color-matching made it difficult/impossible to fix errors completely seamlessly. The whole purpose of this quilt is to have something that can be used everyday without having a heart attack if that cat attacks it or it needs to be washed. I'm trying not to sweat the little stuff, especially not the wonkiness of the quilt lines caused by using a standard domestic sewing machine with not enough table space!
So a couple things you should know before/while machine quilting:
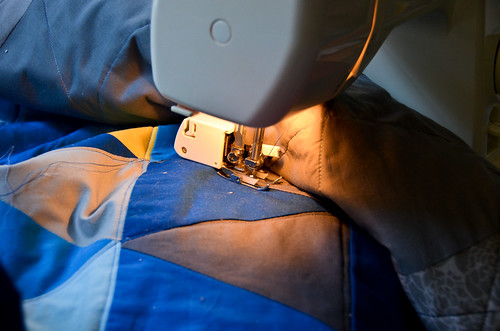
- You really need a 'walking foot' for your sewing machine. It has feed dogs that pull the top of the fabric, working in conjunction with the feed dogs in the bobbin bed. You want all the fabric to be pulled along simultaneously. Installation of these suckers can be a bit tricky, here's a video tutorial for using a Janome quilting (walking) foot.
- Go slowly or your stitches will go all over the place.
- Start in the center and do ~3 lines of quilting in the same direction, before spinning the quilt around and working in the other direction for ~3 lines. This prevents the quilt from shifting in one direction only.
- When starting in the middle of the quilt (i.e., not off edge), pull the bobbin thread up and secure your stitches by using a super tiny stitch length for the first quarter inch. No reverse sewing! There's a tutorial for this process, here: Kathwylie's Tutorial for beginning and ending machine quilting stitches
- You need a really large working space just to hold the weight of the quilt. A lot of the errors in my quilting come from the quilt being pulled downwards off the edges of the table. Maybe a full table in front of you and another to the left.
- Only stop to fix fabric with the needle in the down position, otherwise, your stitches will have a tendency to jump around as the fabric shifts.
- Pull out your thread-basting as soon as it becomes redundant, so it can stop getting caught in your machine.
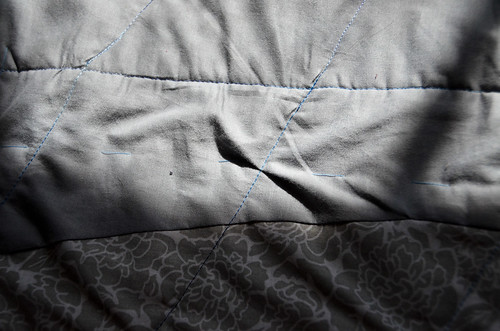
- Iron the back of your quilt, especially where you plan to sew. You can't see the back as you sew, which makes it more likely to develop pintucks and puckers. For the last stage of my quilting, I ironed rather severe wrinkles into the backing, but nowhere near where my stitches will be, so they're not permanent.
- Maybe make your quilt lines more than 1/4" away from top seams, so that if your lines do get wiggly they're not as noticeable.
- If your quilt top is not pieced precisely, it will be very difficult to sew quilting lines that make sense. Give up on perfection. It'll look sloppy up close, but fine from afar.
- Hold onto all hope that wrinkles caused by washing/drying in a machine will lessen the obviousness of all your errors. Oh please, make it so!
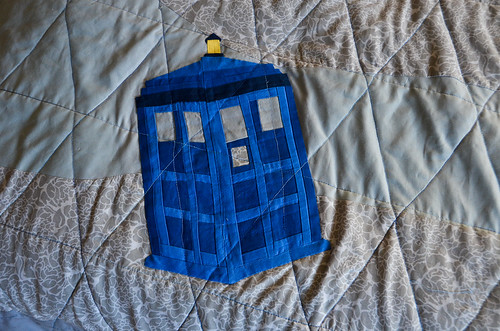
How To: Cut Isosceles Triangles Without Templates10/13/2013How To: Assemble an Isosceles Triangle Quilt Top10/16/2013Step 1: Isosceles Triangle Quilt Top Completed10/18/13TARDIS Applique10/27/13Coordinating Pillowcases for the Isosceles Triangle Quilt11/6/13Step 2: Isosceles Triangle Quilt Backing Assembly3/18/15Step 3: Isosceles Triangle Quilt Sandwich-ing4/1/15Attaching the TARDIS Applique4/8/15- Step 4: Machine Quilting the Isosceles Triangle Quilt 4/15/15
- How To: Continuous Double Bias Binding Strips 4/22/15
- Step 5: Binding the Isosceles Triangle Quilt 4/29/15
- A Review of the Isosceles Triangle Quilt 5/6/15


0 comments:
Post a Comment